Partial replication. First functional parts printed!
"If I can build a RepRap Darwin, I can build almost any machine."
— Me
Because of the experience I got from it, and because of the fabrication possibilities it creates. This was one reason for me to start this project. There are many more, but I wish to share results, not philosophy (at least not now). Ten days ago I had completed the build of the machine. This was proof-of-concept ‘working’, but the prints were of mediocre quality (nothing was configured or calibrated yet). Now I’m able to print functional parts for more machines! (And I even had other things to do!)
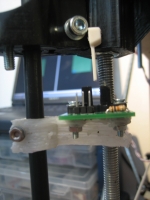
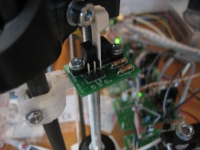
My first functional print (see pic on the right) may also offer an inspirational way to make the undocumented Z-EndStop (the Z-origin is documented)
The part required some cutting and a drill to make the holes (for the screw) that should have been there. Right now, where my RepRap attempts to print a hole (nothing should be there) it prints more than anywhere else: a complete fill with plastic. This is because the outline is really thick and because of the curvature takes longer to process than a straight line. I thought that AngleSpeedFactor might need to be lower, but this didn’t change it much (yet).
I’m printing in HDPE, and through the time lapses I made you can clearly see the material shrink causing the warping. If this happens a lot, the object will detach, even with my sandpaper-hairspray combination to adjust the stickiness. Also in this video, you’ll see that the X opto flag is perhaps too thin to print? It doesn’t attempt to print a layer that is too thin? Any ideas? The part was not designed to be printed on its side, which it could be (as a work-around).


Recente reacties